Taking photos at concerts can be fun and profitable. There will always be a demand for photographs that capture memorable performances. However, concert photography comes with many challenges. You need to find the right settings to deal with dim or erratic lighting. You have to avoid bumping into people who are milling around, dancing, or carrying drinks during the show. The following are some guidelines to help you take better concert photos.
Choose Your Gear
While you can take quality photos of certain types with modern smartphone cameras, a fast-paced, low-light environment such as a concert requires something a little better. A good digital SLR camera will allow you to adjust shutter speeds and light settings.
You will also want to have a lens that’s effective for capturing shots and different angles and distances. A 50mm f/1.4 lens is a good choice for low-light environments such as concerts. It’s usually best to choose a lens that’s made specifically for the brand of camera you’re using. Other gear that’s useful for shooting at concerts includes:
- Memory cards to store your photos. It’s best to carry extras.
- A strap to comfortably carry your camera.
- Monopod —This is optional but helps with stability and is more compact than a tripod in a crowded environment.
- Quality earplugs to protect your hearing.
 Start With Smaller Concerts
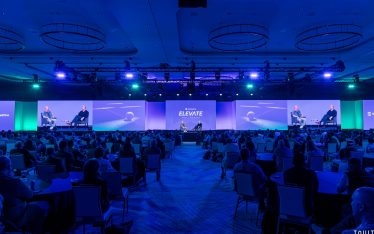
It’s best to gain experience at small venues and concerts rather than major shows where you’ll be dealing with more competition, large crowds, and more difficult shots (e.g. it will be harder to get close to the stage if you don’t have credentials). If you aren’t already familiar with the local music scene, find out which clubs have performances. Get on local bands’ mailing lists. If there’s a free weekly entertainment publication in your area, study it. As you get more experienced, you can work your way up to larger events.
Comply With Venue Requirements
Some concerts may prohibit photos by unauthorized photographers. You may be able to get a photo pass if you apply beforehand. You’re more likely to get a photo pass for a larger show if you work for a publication. However, if you have your own music or photography website, this can help to establish your credibility. Having your own publication or website is also helpful if you want to sell your photos and build your reputation.
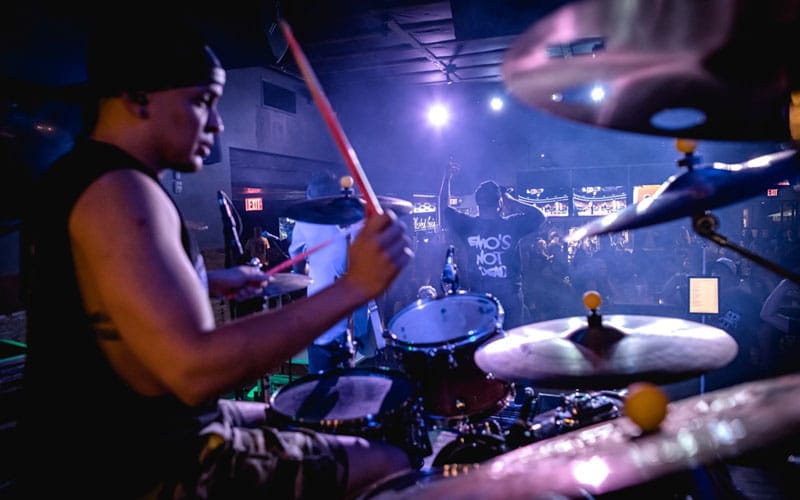
Don’t Use Flash
Using flash photography at a concert is distracting to the performers as well as the audience. It is often banned and can cause you to be removed from the concert. Even if you can get away with it, you won’t get the best photographs as flash tends to produce details that are overexposed. If you want to be a concert photographer, you’re better off learning to adjust the light settings with your camera and stay away from flash.

Photo by Tavits Photography
Monitor ISO Sensitivity
The ISO of your camera measures sensitivity to light. Changing the setting will make your photos lighter or darker. As each concert is different, there’s no one right setting. Most photographers begin with an ISO of 1600 and make adjustments as needed. In very low light settings, you may need to raise it as high as 3200. You don’t want to raise it higher than necessary, though, as it will result in grainy photos.
Use Aperture Priority Mode
Unless you are very experienced with manual mode, the best way to start out with concert photography is to use aperture priority mode, a setting available in many DSLRs and compact cameras. While you have less control than you would with manual mode, this setting will automatically adjust to the lighting conditions, so you don’t have to constantly make manual adjustments. As noted, you don’t want to use flash at a concert and the loud conditions and possibly fast-changing lighting conditions can make it challenging to alter the settings manually.
As you gain experience, you may want to practice learning to use manual exposure. Adjusting the settings manually will provide the best results when you’re dealing with special effects such as strobe lighting and lasers, common at larger venues.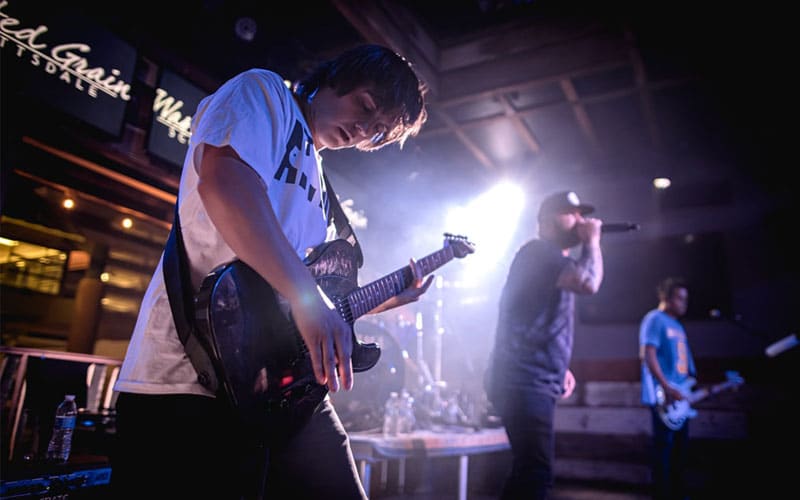 Use Fast Shutter Speeds
The ideal shutter speed depends in part on what kind of show it is. At the typical concert featuring genres such as rock, country, or hip-hop, where performers often dance and run around the stage, faster shutter speeds usually work best. At these performances, audience members are usually quite frenetic as well. A shutter speed of at least 1/200 will allow you to capture rapid movements. Slower shutter speeds will give you blurry images when performers are moving around.
On the other hand, if you’re photographing a more sedate performance such as classical or jazz, where the musicians are mostly stationary, you can get by with slower shutter speeds. Its all about practicing constantly, reviewing your work, and finding the sweet spot of your equipment.
Practice and Experiment
While concert photography is a distinct niche, there are many variations within it. Venue size, lighting, style of music, and regulations at each concert will all influence the way you shoot and the gear and settings you choose. Experimenting with different gear and settings will allow you to develop your own preferred style. If you don’t want to spend a lot of money, start with basic gear and kit lens. As you progress, so should investing in yourself.
And if you’re looking to hire a photographer for a concert? We have the experience and expertise to take the best concert photos for all your needs.